How to get Started in Upcycling” A Sculptor’s Guide
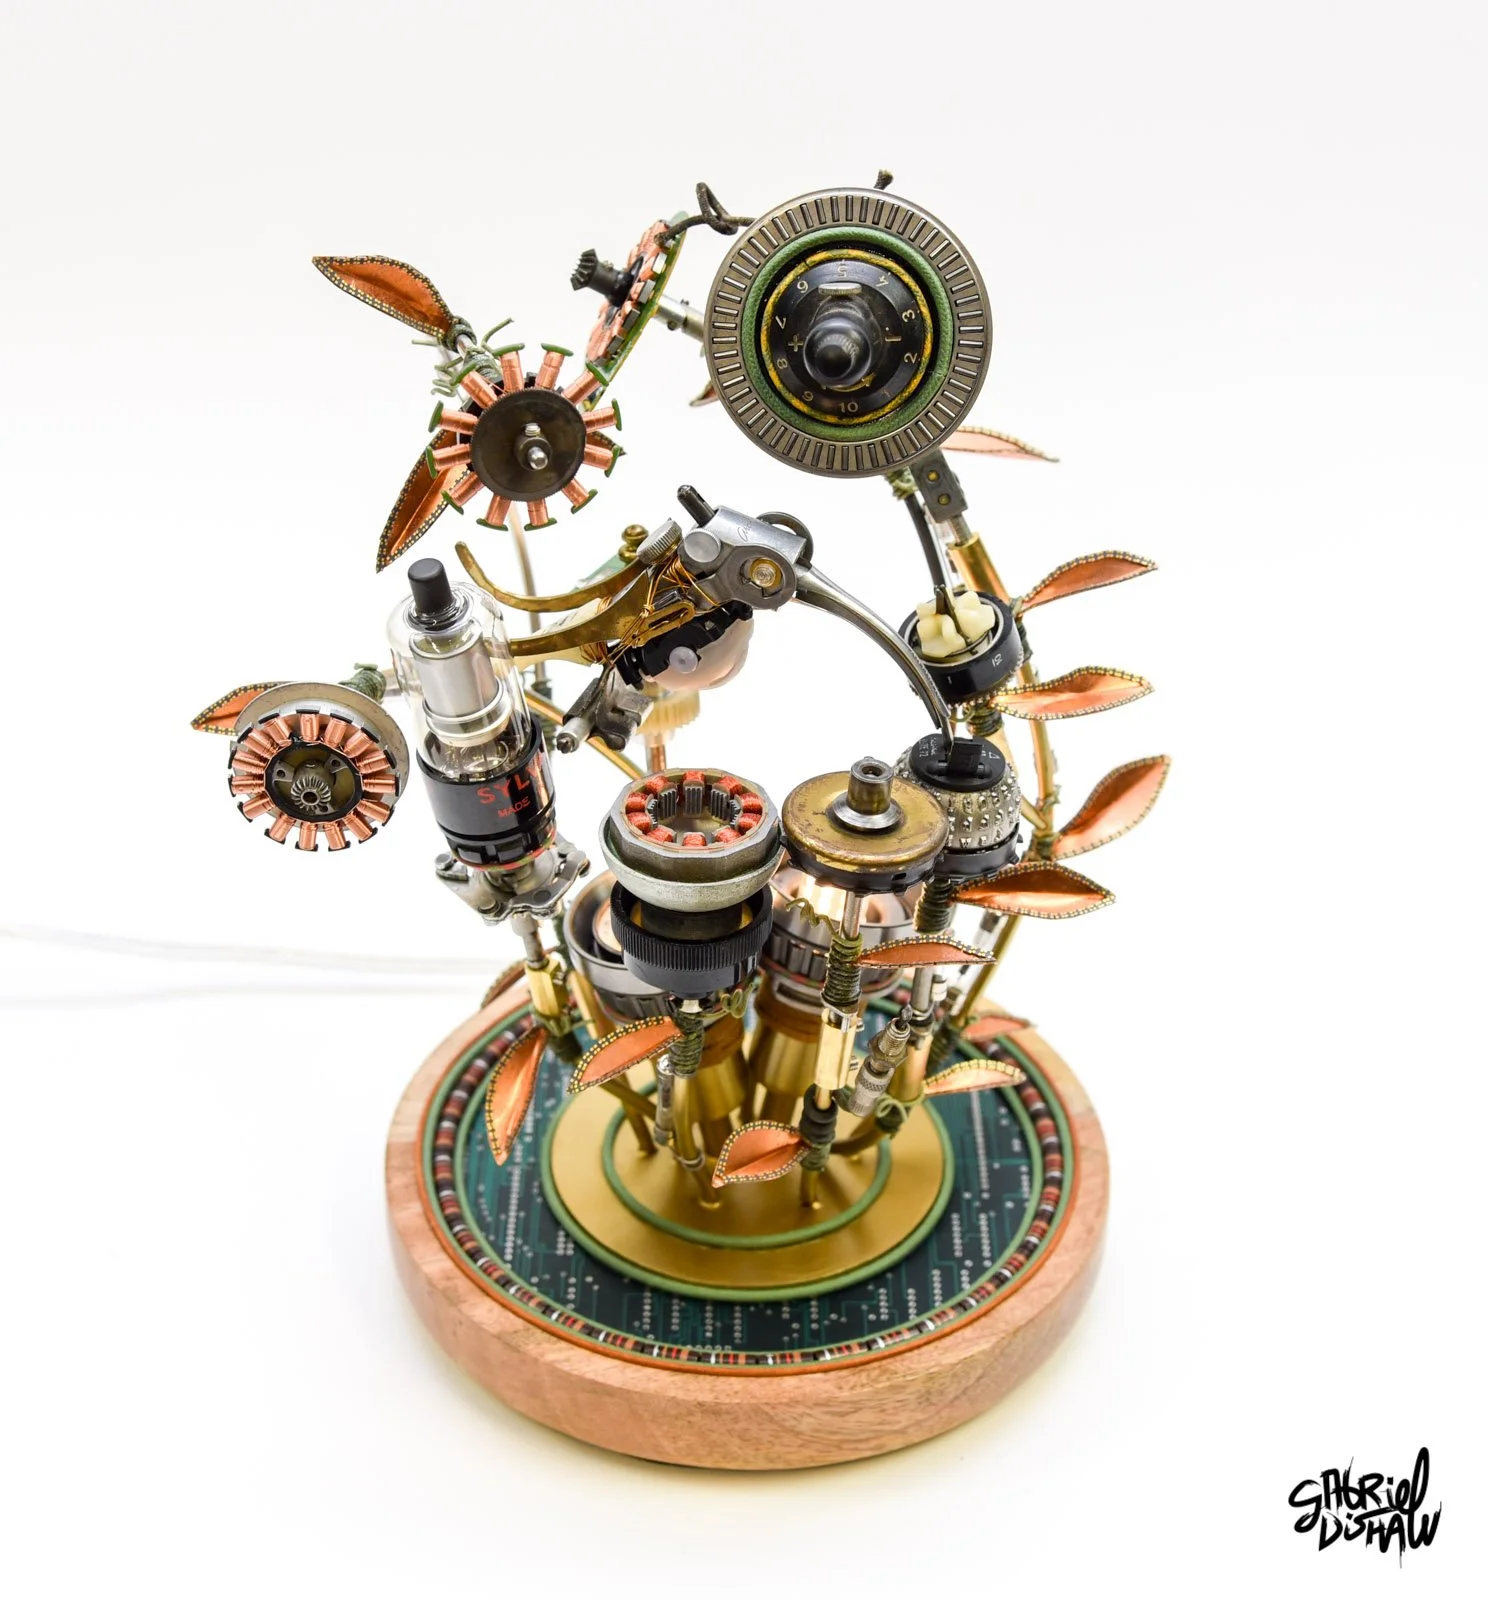
Circuit Garden (Lamp)
I started in my garage at 15. I didn’t have a plan or a project. I was just curious about taking things apart to see how they worked.
"Looking back, that curiosity became the foundation. What helped most was developing a certain muscle — learning to look at an object and see past what it was made to be. A typewriter can become a collection of long, slender arms. A motherboard, a landscape of texture and geometry. They start to reveal a vocabulary of shapes and possibilities, once you begin training your eye to find them."
Here's how I'd tell anyone to get started.
1. Take things apart
Disassembly is where the work begins. It's also the fastest way to develop your eye.
When you break something down into its smallest components — screws, gears, levers, springs, plates — you stop seeing the object and start seeing the parts. That shift is the whole game. Let your mind loose. Don't force an idea. Just notice what each piece looks like, what it reminds you of, and what it could become.
I gravitated toward typewriters and adding machines for exactly this reason. They have hundreds of intricate parts, many of them repeating and symmetrical, which makes them both an incredible teaching tool and a rich source of material for sculptural work that requires balance.
2. Source materials (most of them are free)
You don't need to spend money to start. Some of the best, most accessible materials to gather are things people throw away every day:
VCRs
Computer towers
Floppy disk drives
DVD players
Typewriters
Adding machines
Keyboards
Check curbsides, thrift stores, estate sales, electronics recyclers, and family attics. Once people know you take this stuff, it tends to find you.
3. Let the parts suggest the piece
Once you have a pile of components spread out in front of you, look for inspiration in their shapes.
The key arms of a typewriter, for example, look a lot like long, slender fingers. That simple observation could spark an idea, like making a hand-and-forearm sculpture that also works as a display stand for a gaming controller. The piece develops from what the parts suggest.
This is the step most people skip. They start with a fixed idea and then try to force materials into it. The work is much stronger when you flip it around — let the materials lead, and the idea will follow.
4. Figure out how to put it together
Once you have an idea, you need to attach the pieces. There's no single right way to do this. The most common methods are:
Fasteners and screws
Wire
Glues and adhesives
You'll learn which approach fits each piece as you go. Some materials need to be fastened together with screws. Some work better with wire. Some need adhesive to hold the small bits. This is where practice pays off. You learn by doing.
5. A starter toolkit
You don't need much to begin:
A set of screwdrivers (Phillips and flathead)
A power drill
An assortment of drill bits
Side cutters
Pliers
A ruler or tape measure
That’s all you need to start. These tools are easy to find, cover most situations, and you can add more specialized tools as you need them.
6. Don't skip the presentation
A piece isn’t finished just because the sculpture is done. The base, the mounting, and the finishing touches are what turn a project from an "interesting object" into a "completed work." I almost always build custom bases for my pieces. It shows that the work is complete and gives the viewer a way to connect with it.
7. Start with something you care about
The best advice I can give is to pick a subject you truly care about. It could be a character, a movie, a sport, or a hobby—something that already means something to you. Your creativity will come through more easily when you build something you care about, and the finished piece will carry that connection for the viewer to feel.
The real secret: reps
The Stoics had a concept called Askesis, which means deliberate, disciplined repetition as the path to building skill and virtue. Excellence isn’t given; it’s earned through consistent, intentional practice. What they applied to character, you can apply to creative vision.
There’s no shortcut. Developing the eye, the hands, and the instincts for this kind of work takes practice, persistence, and lots of repetition. The good news is that every disassembly is a chance to practice. Every pile of parts is a chance to see something new. Every attempt, whether it works or not, teaches you something you’ll use next time.
Start small. Stay curious. Keep going.
"Ready to put these skills to work? Follow along with the Upcycled Keyboard Vader Tutorial and build your first piece step by step."